
Router with Standalone Components
In the previous chapter, we created a custom button by using Tailwind CSS classes
leveraging the host attribute of a standalone Directive.
Now, it’s time to start using the Router.
As our application grows, we’ll need to add more and more components and we’ll need to navigate between them.
While navigation has always been simple in Angular, it becomes even simpler with standalone components.
Login page
Before working on the private area of the application, we need to create a login page to let the user authenticate.
Spoiler Alert
In the next article, we’ll add NGRX for handling the authentication state using Redux.
Let’s create a new component by using the Angular CLI:
pnpm exec ng generate c auth/login --skip-testsNo tests, for now
--skip-tests is for skipping the creation of the test file.
That’s not a good practice in general, but our current focus is mainly on routing.
Here’s what we get: a standalone component importing the CommonModule.
import { Component } from '@angular/core';
import { CommonModule } from '@angular/common';

@Component({
  selector: 'fradev-login',
  standalone: true,
  imports: [CommonModule],
  templateUrl: './login.component.html',
  styleUrls: ['./login.component.scss']
})
export class LoginComponent {}
The CommonModule
The CommonModule is required to use *ngIf,*ngFor,ngClass,ngSwitch, the async pipe and more.
The Angular team believes you need to access what the CommonModule exports in every component, which is why it’s imported by default.
Here’s the template for the Login page:
<div class="text-center py-8">
  <h1 class="text-6xl">Login now</h1>

  <form class="flex flex-col items-center mt-8" [formGroup]="form" (submit)="submit()">
    <input type="email" formControlName="email" placeholder="E-mail...">
    <input type="password" formControlName="password" placeholder="Password...">


    <button type="submit" class="mt-6" [disabled]="form.invalid">Login</button>
  </form>
</div>
If you look at the template, you’ll see that we’re using a formGroup and a formControlName directive.
These old friends are not available out of the box in a standalone component. If you try to run this code, it won’t compile at all.
The Standalone Way
Remember that standalone components are not part of a module, so they don’t have access to anything exported by other modules.
Let’s edit the login.component.ts file to add the import for the ReactiveFormsModule and a few UI directives as well:
import { Component, inject } from '@angular/core';
import { CommonModule } from '@angular/common';
import { FormBuilder, FormsModule, ReactiveFormsModule } from '@angular/forms';
import { emailField, passwordField } from 'src/app/forms/fields';
import { InputDirective } from 'src/app/ui/input.directive';
import { FormDirective } from 'src/app/ui/form.directive';
import { ButtonDirective } from 'src/app/ui/button.directive';

@Component({
  selector: 'fradev-login',
  standalone: true,
  imports: [
    CommonModule,
    FormsModule,
    ReactiveFormsModule,
    ButtonDirective,
    InputDirective,
    FormDirective
  ],
  templateUrl: './login.component.html',
  styleUrls: ['./login.component.scss']
})
export class LoginComponent {
  form = inject(FormBuilder).group({
    email: emailField(),
    password: passwordField()
  })

  submit() { }
}
This code also uses a couple of custom functions, emailField and passwordField, that are defined in a separate file and are used
for reusing the same form fields in different components.
Alright, it looks like we have our page ready, but how can we access it?
Normally we would add the route to the app-routing.module.ts file or something similar, but we don’t have that file in our project.
We’re module-less, remember?
Let’s create a file named routes.ts inside the auth folder, very close to our LoginComponent:
import { Routes } from "@angular/router";
import { LoginComponent } from "./login/login.component";

const AUTH_ROUTES: Routes = [
  {
    path: 'login',
    component: LoginComponent,
  }
]


export default AUTH_ROUTES;
Alright, we have our new routes from the Auth feature.
The main router is not aware of these new routes, so let’s add them to the app.config.ts file:
import { ApplicationConfig } from '@angular/core';
import { Routes, provideRouter } from '@angular/router';

const GLOBAL_ROUTES: Routes = [
  {
    path: 'auth',
    loadChildren: () => import('./auth/routes')
  }
]

export const appConfig: ApplicationConfig = {
  providers: [
    provideRouter(GLOBAL_ROUTES),
  ],
};
provideRouter is responsible for providing the Router along with the passed in routes to the application.
Lazy Loading
We’re using the loadChildren property to lazy load the Auth feature.
That’s not required, but it’s a good practice to follow to optimize the application startup time.
To test all these changes, let’s add a navigation to the AppComponent:
<div class="flex flex-col h-full items-center">
    <nav class="flex w-full p-5">
        <h1 class="font-black self-start pr-8">Course Platform</h1>

        <ul class="flex flex-1 justify-end">
            <li><a routerLink="/auth/login">Login</a></li>
        </ul>
    </nav>

    <main class="flex-1 flex flex-col items-center justify-center">
        <router-outlet></router-outlet>
    </main>
</div>
If we then click to the Login link, nothing happens.
routerLink is not available in a standalone component, so we need to import it from the RouterModule.
Let’s edit the app.component.ts file:
import { Component } from '@angular/core';
import { CommonModule } from '@angular/common';
import { RouterLink, RouterOutlet } from '@angular/router';
import { ButtonDirective } from './ui/button.directive';
@Component({
selector: 'fradev-root',
standalone: true,
imports: [
CommonModule,
RouterOutlet,
ButtonDirective,
RouterLink
],
templateUrl: './app.component.html',
styleUrls: ['./app.component.scss']
})
export class AppComponent {
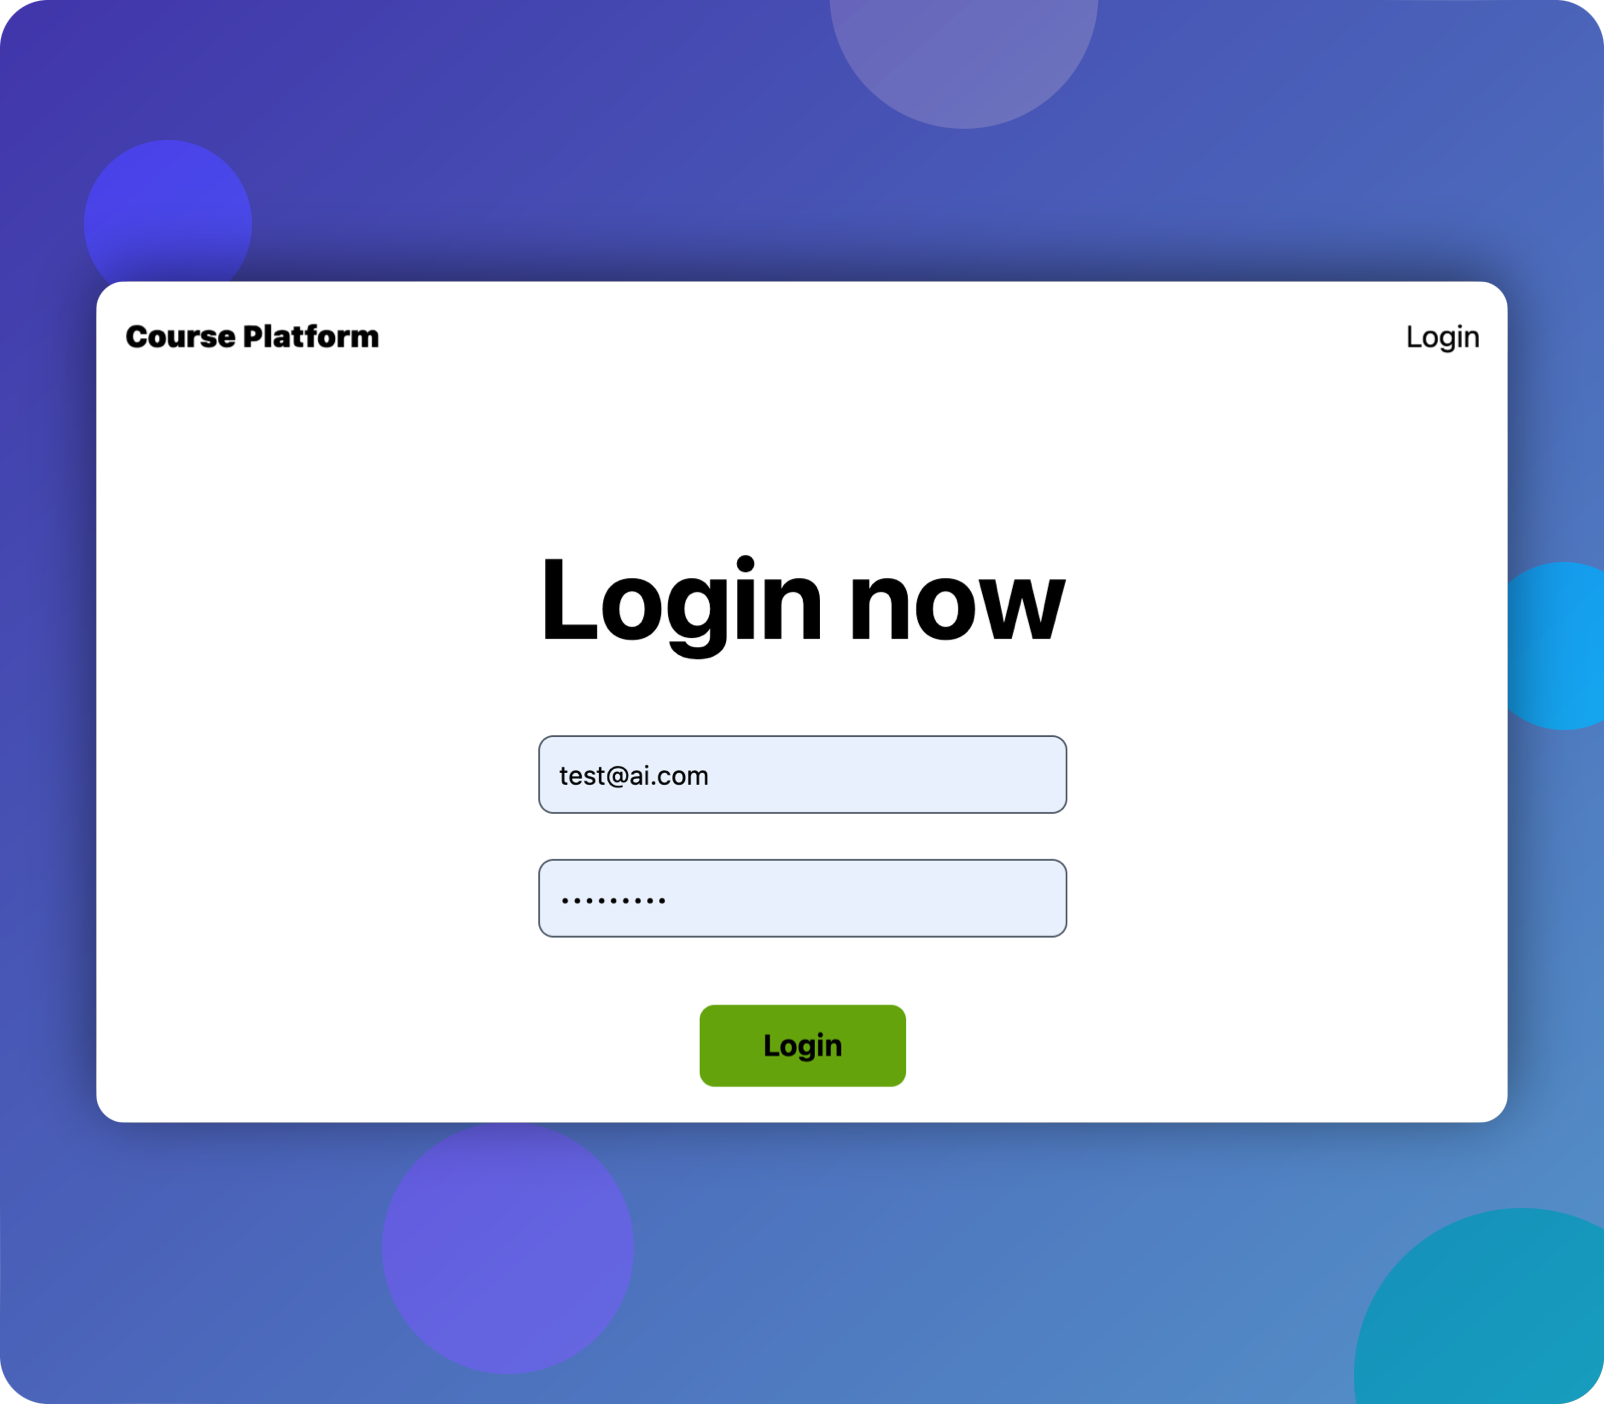
}Now the link is clickable as expected and we’re redirected to the login page at the /auth/login path.
And it looks like our LoginComponent shines in the middle of the page.
Quick summary
In order to use the Router without a module, we need to:
- Create a folder for the feature and add the routes in a
routes.tsfile - Import the routes in the
app.config.tsfile - Import the
RouterLinkdirective in the component that needs to render a link
The Github Repo
You can find the source code of this course step right on GitHub.
What’s next
In the next chapter, we’ll see how to add NGRX to our application to handle the authentication state.
Register to the newsletter if you want to know when the new chapter is ready.
 Whatsapp